Today’s Inlet: Unhinged.

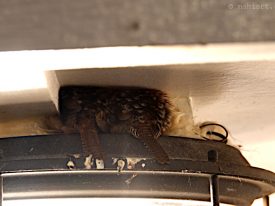
Yes, something’s wrong in this picture. (metalsmithing can look so ugly, no?) Putting a hinge on a box is a tedious process that can easily lead to an unhinged day. The above hinge is now in place, but it took longer than expected. For future reference, I’ve written myself some step-by-step notes on the process.
1. File a cradle for the hinge.
2. Measure and cut tube to be used as hinge.
3. Insert oiled pin (a drill bit works very nicely) to keep hinge sections lined up during soldering, and place hinge in cradle.
4. Make sure you’ve oiled the pin, so you can easily remove it after soldering.
5. A well-oiled pin keeps the hinge in…
5. Did you oil the pin?
6. Don’t you heat that hinge until you’ve oiled the pin.
7. Ok, now: flux…
8. Place solder juuuuuust so…
9. Solder hinge in place, woooooooo look at that pin glowing bright red – easy peasy!
10. Quench.
11. Wage epic battle to remove unoiled pin only to take half the hinge with it.
12. Take photo, post on blog for future reference.
13. Try again.